


Contract Management Guide
This guide provides instructions on managing contracts, including creating new contracts, viewing existing ones, and exporting contract data.
1. Overview of the Contracts Screen
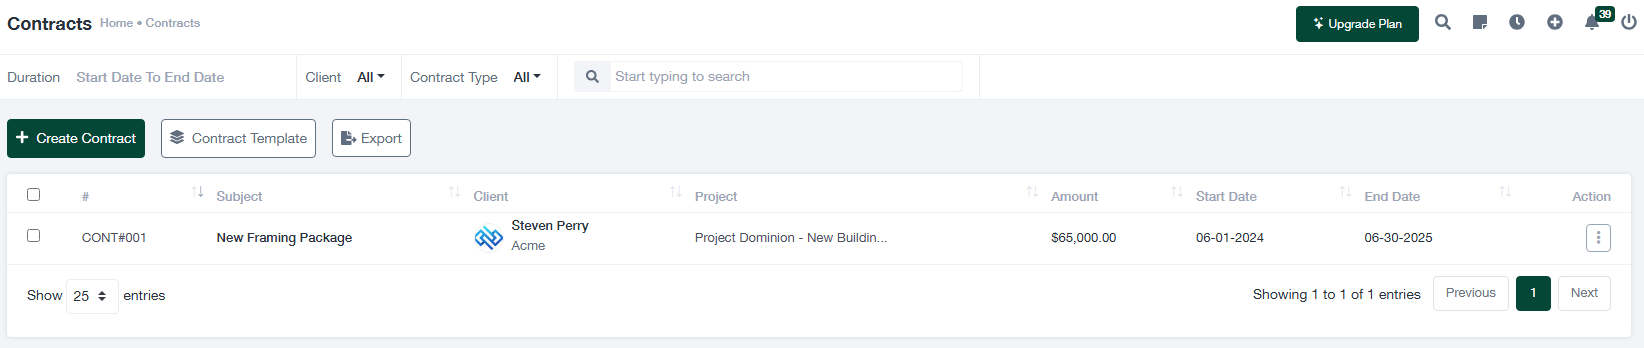
The “Contracts” screen enables users to manage contract details effectively. The interface includes the following features:
- + Create Contract: Initiate a new contract by entering relevant details.
- Contract Template: Access pre-defined contract templates for consistency.
- Export: Export contract data into a file format such as CSV or Excel for reporting purposes.
- Filters: Narrow down contract data using filters for duration, client, and contract type.
- Search Bar: Quickly locate specific contracts by typing in the subject, client name, or keywords.
- Contract Table: Displays a summary of all contracts with the following columns:
- #: Contract number for unique identification.
- Subject: Brief description of the contract.
- Client: Name of the client associated with the contract.
- Project: Project linked to the contract.
- Amount: Total value of the contract.
- Start Date: The contract’s starting date.
- End Date: The contract’s ending date.
- Action: Options to view or edit the contract details.
- Pagination: Navigate through multiple pages of contracts and adjust the number of entries displayed per page.
2. Creating a New Contract
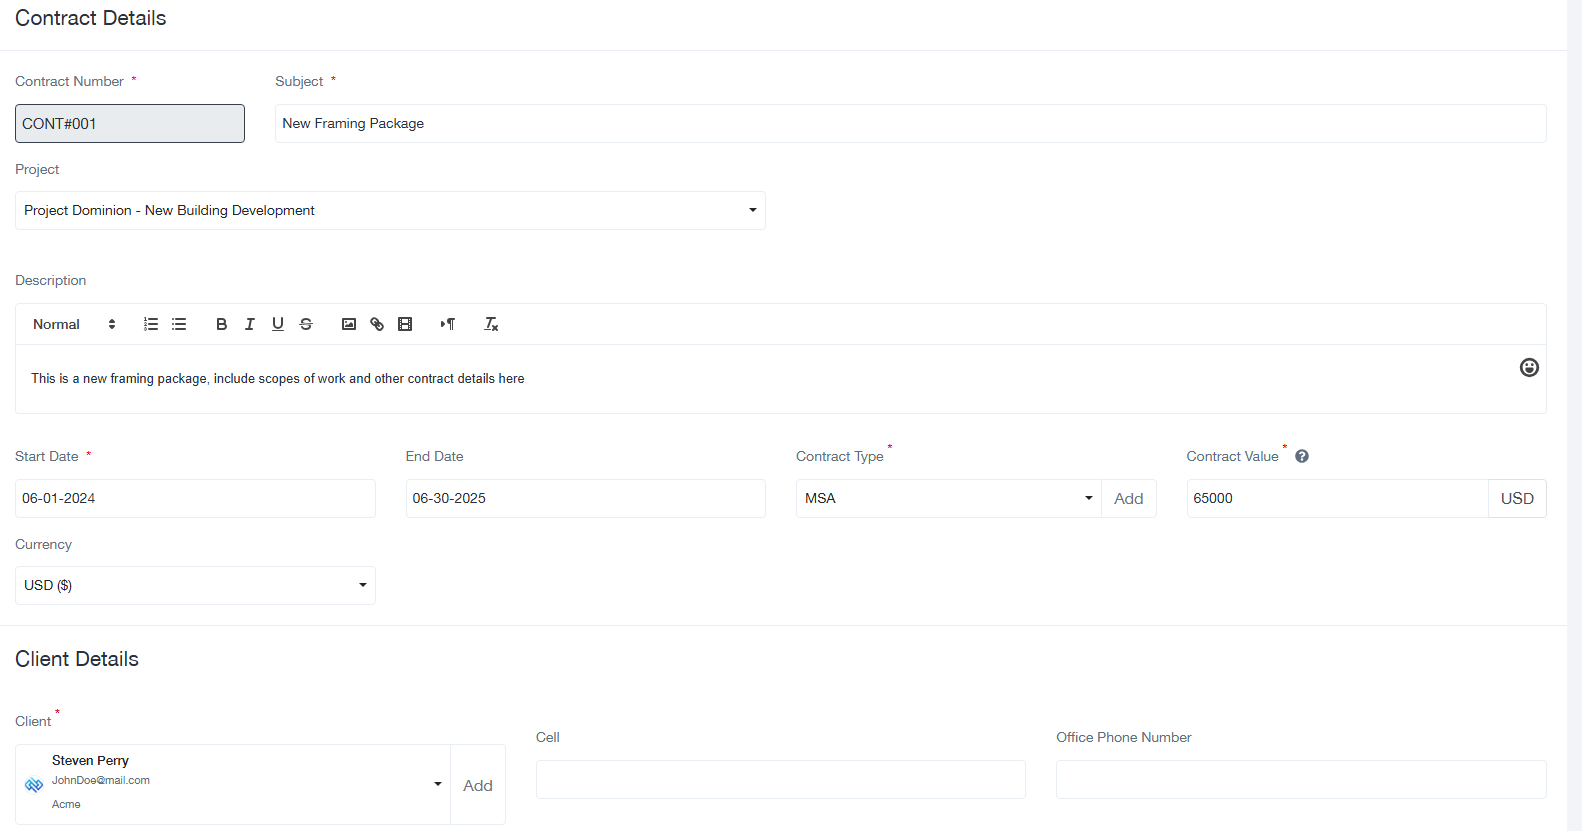
To create a new contract, follow these steps:
- Click the + Create Contract button at the top of the screen.
- Fill out the “Contract Details” form with the following fields:
- Contract Number: Enter a unique identifier for the contract (e.g., CONT#001).
- Subject: Provide a brief title or description of the contract (e.g., New Framing Package).
- Project: Link the contract to a specific project.
- Description: Include detailed information about the contract, such as scope of work and key terms.
- Start Date: Specify the date when the contract becomes effective.
- End Date: Specify the contract’s expiration date.
- Contract Type: Select the type of contract (e.g., MSA, Fixed Price).
- Contract Value: Enter the total value of the contract, along with the currency.
- Scroll down to the “Client Details” section and provide the following information:
- Client: Select the client associated with the contract.
- Optional fields: Add the client’s contact information, such as cell phone and office phone number.
- Click Save to create the contract or Cancel to discard the changes.
3. Viewing and Editing Contracts
To view or edit an existing contract:
- Locate the contract in the table using the search bar or by scrolling through the list.
- Click the Action button (e.g., View) to open the contract details.
- Make necessary updates to the contract information and save the changes.
4. Exporting Contract Data
To export the list of contracts for analysis or reporting:
- Click the Export button at the top of the “Contracts” screen.
- Select the desired file format (e.g., CSV, Excel) and download the data to your system.
5. Tips for Effective Contract Management
- Ensure that all mandatory fields are completed when creating a new contract to avoid errors.
- Use the “Contract Template” feature to maintain consistency across contracts.
- Periodically review and update contract details to ensure accuracy.
- Export contract data regularly to maintain backups or for analysis.