

Project Payments
This guide explains how to manage payments for a project, including adding new payment entries, reviewing payment records, and exporting payment data for reporting purposes.
1. Overview of the Payments Screen
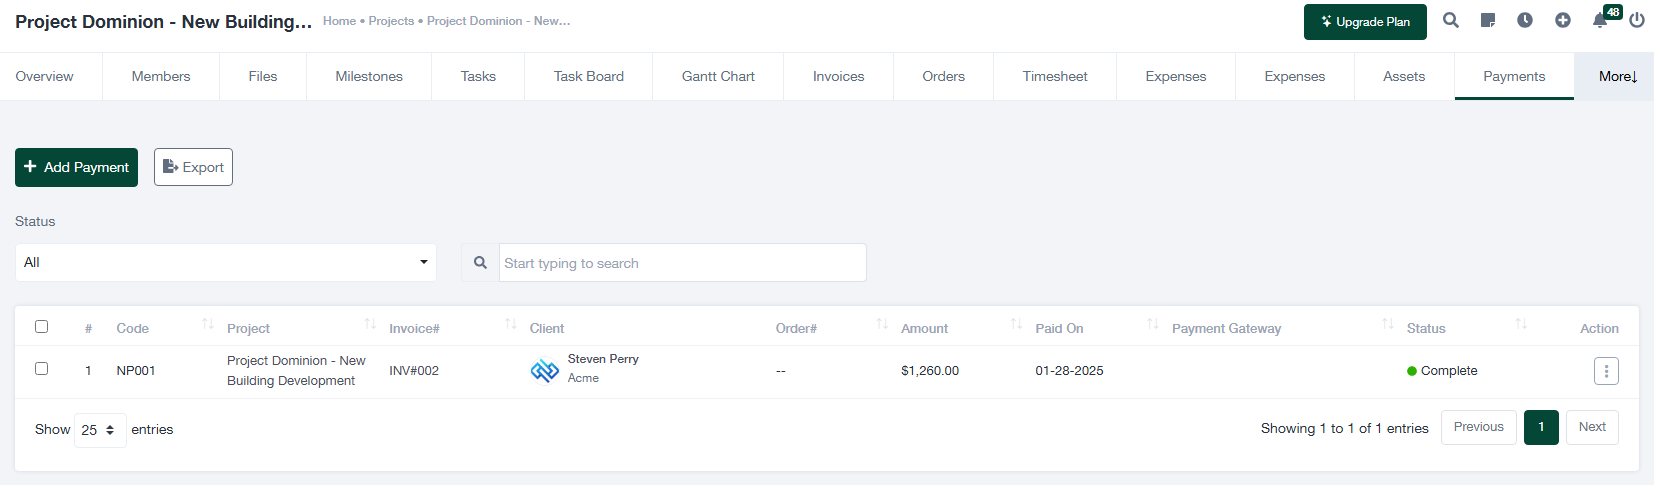
The “Payments” tab within a project provides a centralized location for managing all payments associated with the project. Below are the key features of the screen:
- + Add Payment: Click this button to add a new payment entry.
- Export: Use this button to download the list of payments in a CSV or Excel format for record-keeping or analysis.
- Status Dropdown: Filter payments by their status (e.g., Complete, Pending).
- Search Bar: Enter keywords to quickly locate specific payment records.
- Payment Table: Displays the following key details:
- Code: The unique identifier for the payment.
- Project: The project associated with the payment.
- Invoice #: The invoice linked to the payment.
- Client: The client from whom the payment was received.
- Order #: The order associated with the payment, if applicable.
- Amount: The total amount paid.
- Paid On: The date the payment was received.
- Payment Gateway: The method used to process the payment (e.g., Bank Transfer, PayPal).
- Status: The current status of the payment (e.g., Complete, Pending).
2. Adding a New Payment
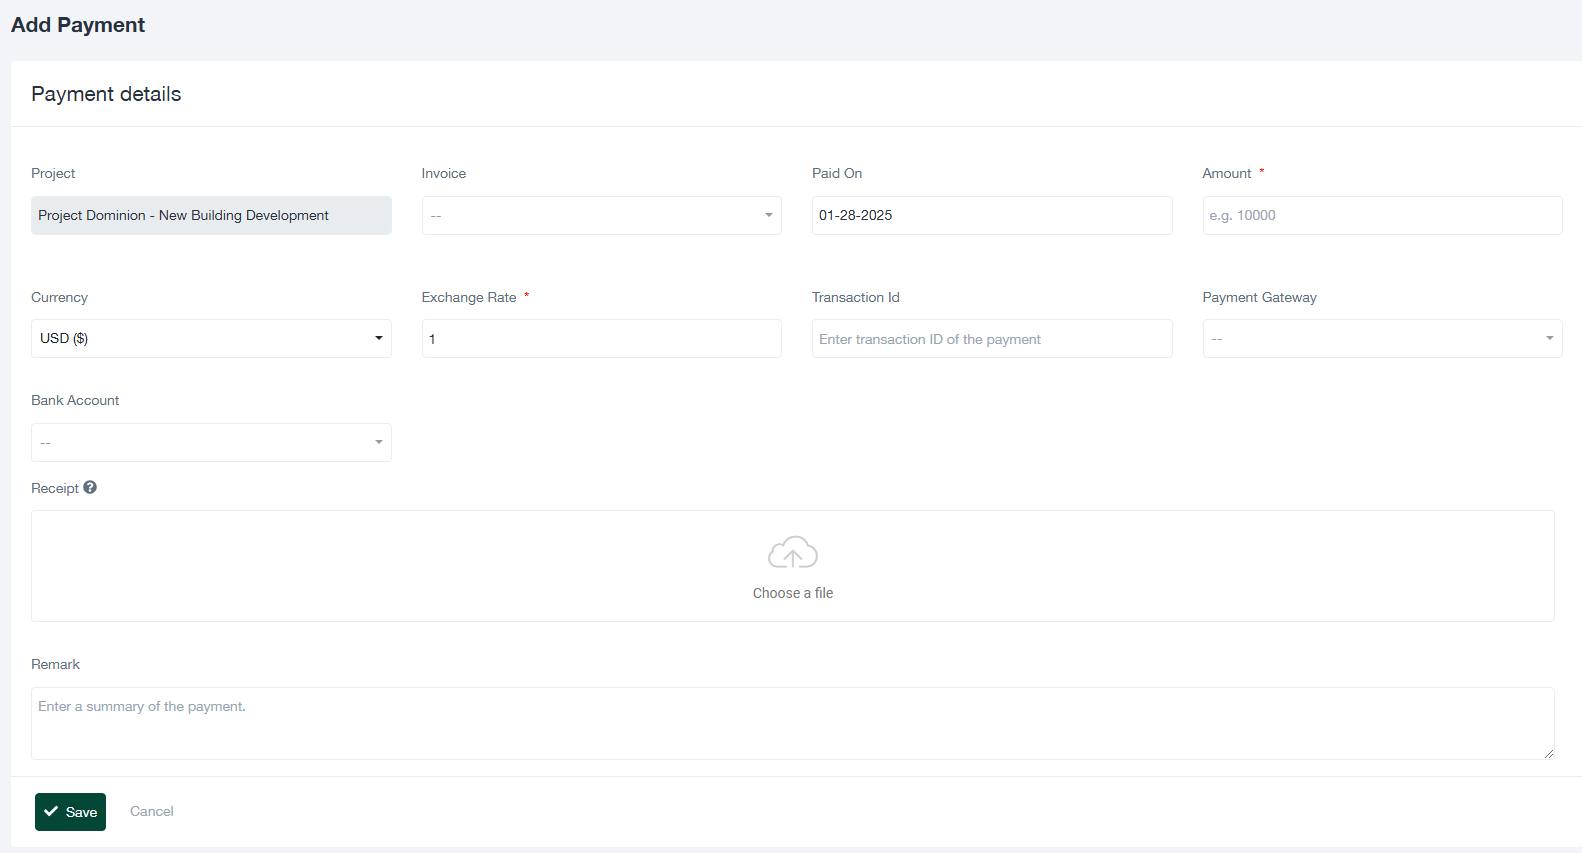
To add a new payment, follow these steps:
- Click the + Add Payment button on the “Payments” screen. This will open the “Payment Details” form.
- Fill in the following fields in the form:
- Project: The project associated with the payment. This field is pre-filled based on the current project.
- Invoice: Select the invoice linked to the payment, if applicable.
- Paid On: Enter the date the payment was received.
- Amount: Specify the total amount received.
- Currency: Select the currency for the payment (e.g., USD, EUR).
- Exchange Rate: Enter the exchange rate if the payment was made in a foreign currency.
- Transaction ID: Provide the transaction ID for the payment, if available.
- Payment Gateway: Select the method used to process the payment (e.g., Bank Transfer, Credit Card).
- Bank Account: Link the payment to a specific bank account, if applicable.
- Receipt: Upload a receipt or supporting document for the payment, if available.
- Remark: Add any relevant comments or notes about the payment.
- Click Save to create the payment entry or Cancel to discard the entry.
3. Managing Existing Payments
The “Payments” screen also allows you to manage and review all payment records. Here’s how:
- Filter and Search: Use the status dropdown and search bar to refine the displayed payments.
- View Details: Click the “Action” button next to a payment entry to view or edit its details.
- Export Data: Use the “Export” button to download the list of payments for record-keeping or financial analysis.
4. Tips for Effective Payment Management
- Ensure Accuracy: Double-check all payment details, including amounts and linked invoices, before saving.
- Upload Receipts: Attach supporting documents to maintain proper records for auditing purposes.
- Monitor Status: Regularly update payment statuses (e.g., Complete, Pending) to ensure accurate tracking.
- Export Regularly: Export payment data periodically to maintain backups and streamline financial reporting.
